Friday, July 3, 2020

Treasured Pieces

When I first started the craft of Scrapbooking I was fortunately enough to be told about a wonderful Blog by Becca Feeken and her blog Amazing Paper Grace. Ever since my first visit to the Blog I have been following Becca - if you get the chance please check out all the beautiful cards, boxes and accessories on her Blog.

The other day I got really excited when I noticed for the first time that Becca had put a call out for her Design Team. Her work is stunning and the cards are very elegant. I love the way she uses Ribbon and Bows on each of her cards and look forward to the new Spellbinders Dies she showcases each time with the beautiful cards, off-the page items and the mixed variety of other beautiful projects.


I would love to purchase her Dies but the postage cost from the USA puts them out of my budget. I do however, check out my local suppliers regularly to check to see if they have come in but most of the time I am not that lucky.

The Design Team Call-Out asks for a link to my favourite blog piece and truthfully I found that very hard, therefore I decided to make it this post and showoff a number of my most treasured pieces.

I hope you all enjoy the lovely pieces I have made:


These little beauties are actually little boxes that open up to keep your little trinkets safe. 


I had fun making this - so much so I made two, the one in the link above and this one which I made out of 49@Market Papers and Flowers


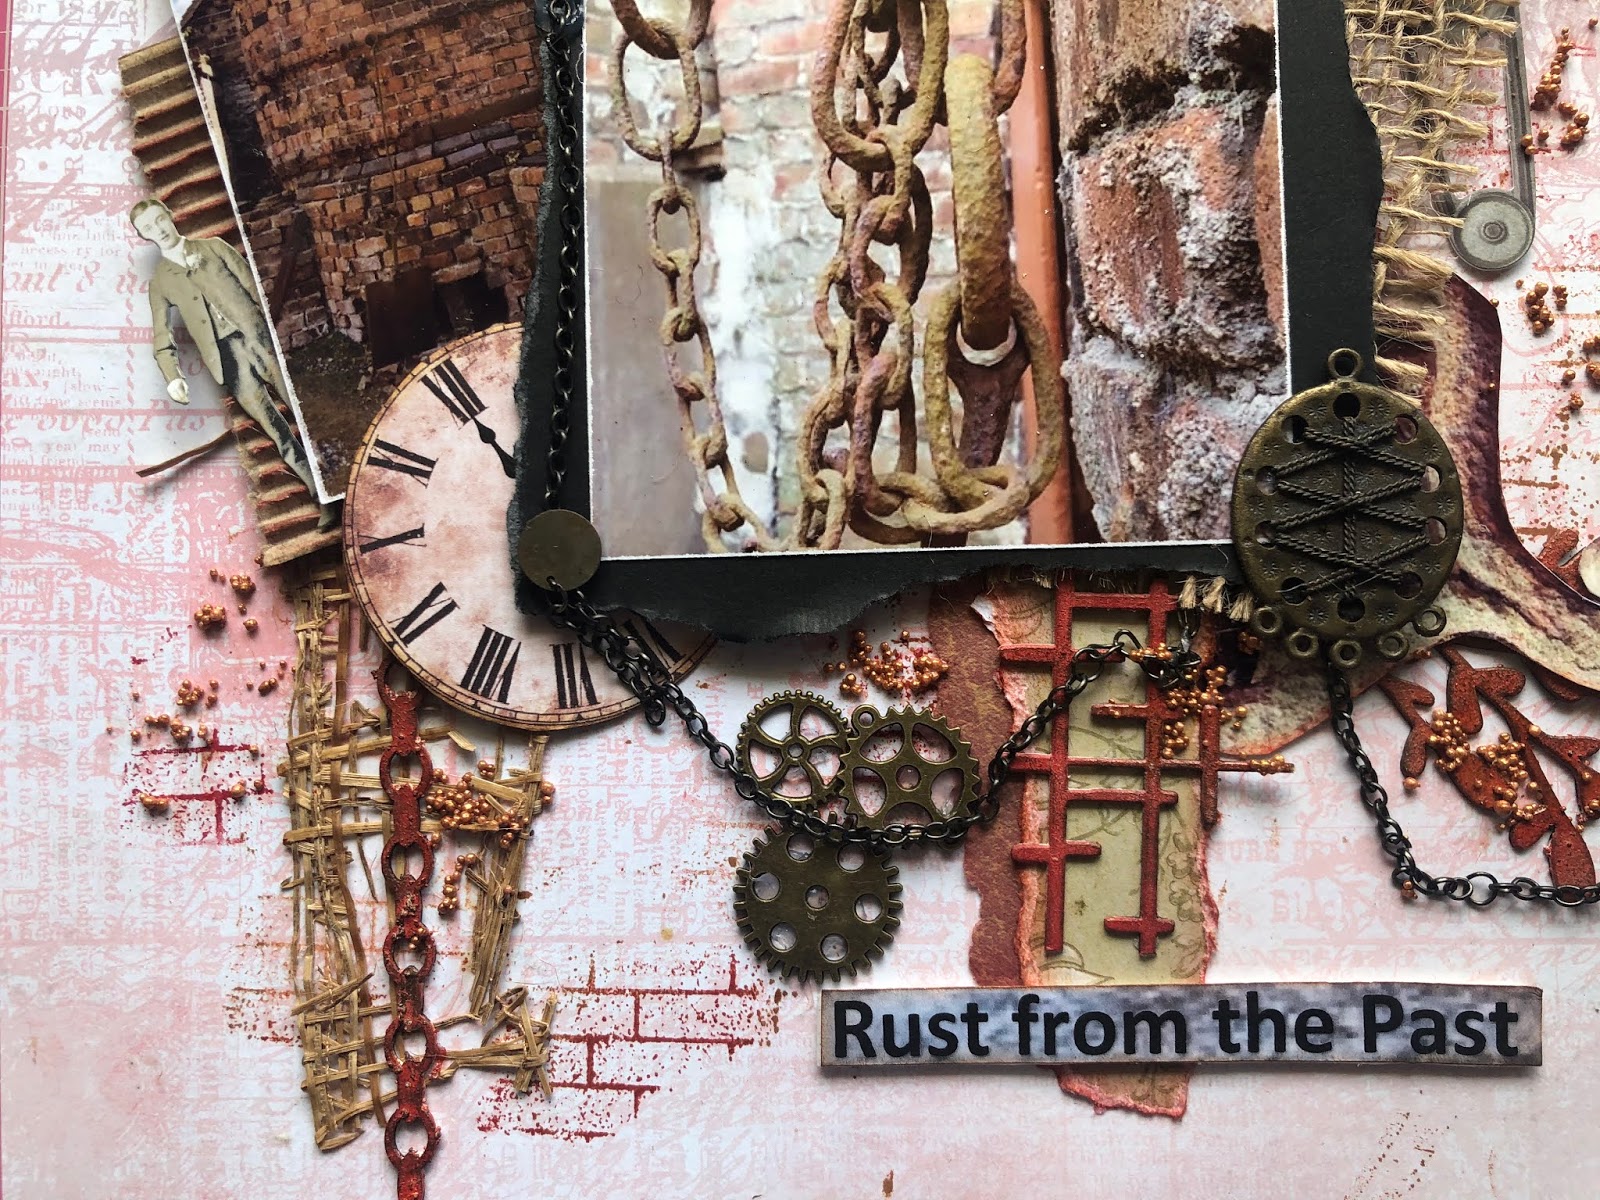
This is one of my favourite layouts and shows of the my Mixed Media skills, and the beautiful flowers that I made to compliment the beautiful elegant lady in the photo.


Of course any selection of work would not be complete without a selection of cards - some of them in boxes, some just as cards for special occasions. 


Check out the link - there is a special surprise with this card come box 


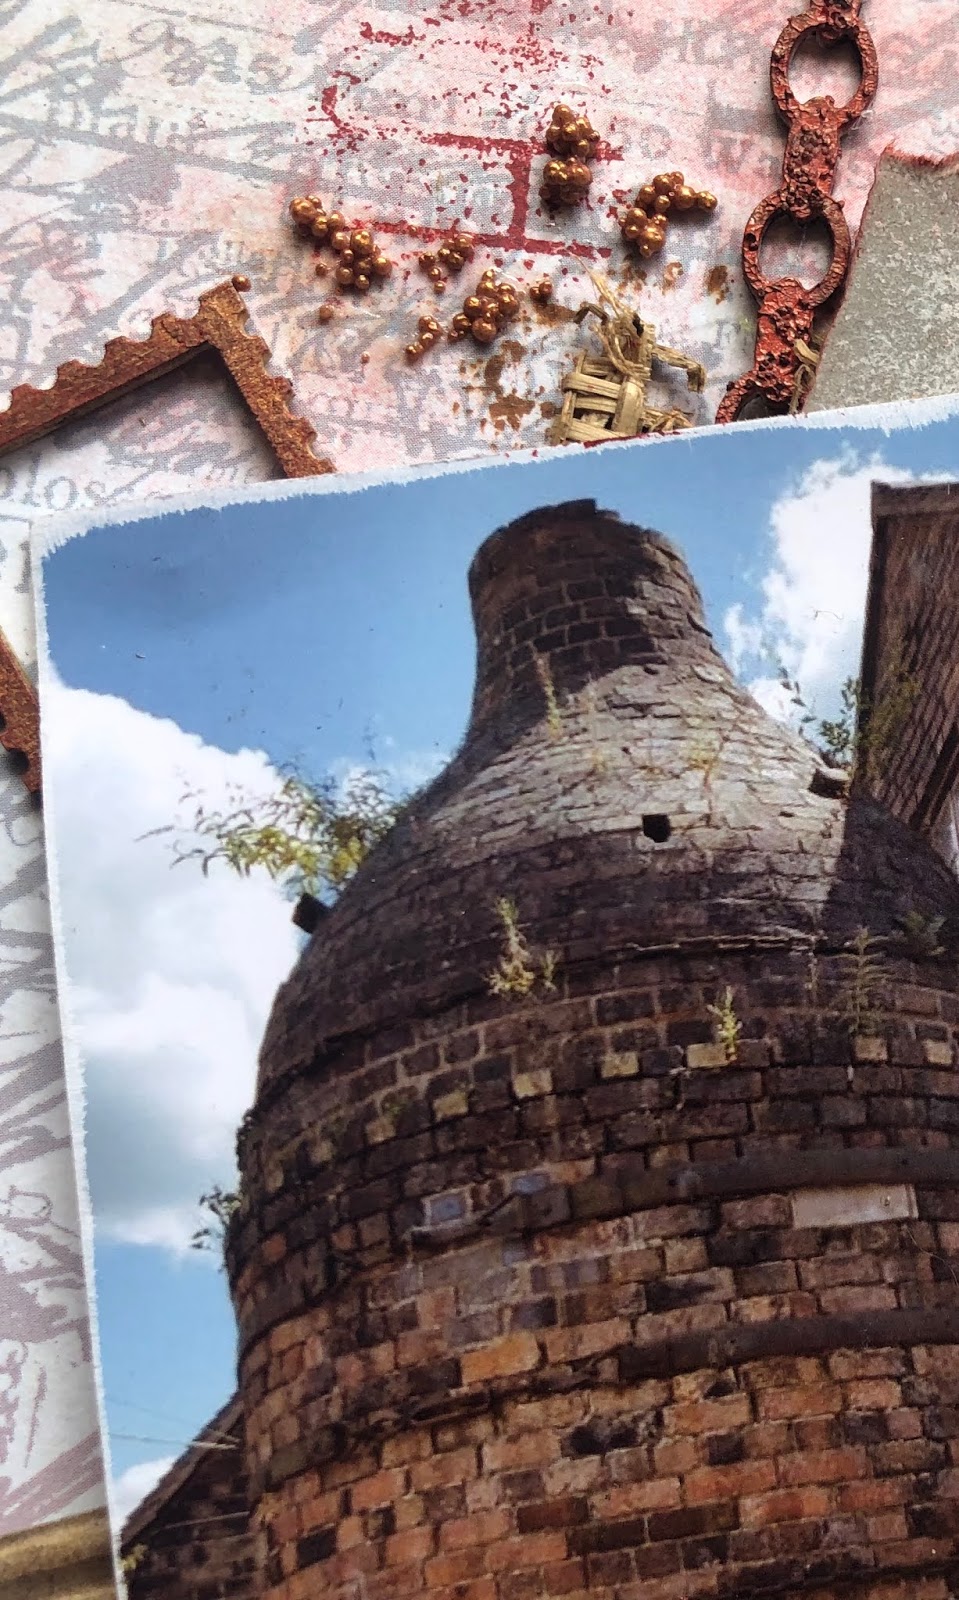
This is a mixture of cards for different occasions.

Thank you for stopping by and visiting my Blog, I do hope you all like this selection of projects
that I have created over the past 12 months and please message me if you have any questions regarding any of the projects.
Please "Follow" me so that you don't miss out on future projects that I will be working on.


Glenda


Wednesday, July 1, 2020

Cards for All Occasions

Over the past 12 months I have moved away from making cards into more creating boxes, miniature violins, gypsy van and other layouts and off-the-page projects. 

Well recently I got some of my mojo back and have started putting some cards together.   I have made a selection of cards mainly because I had to make a couple of cards for my son-in-law who just turned the big 40. 


Then my creative juices started to really flow and made a couple of more shabby cards, with home made flowers, pearls and little pieces of lace. 


I hope you like the cards and have inspired you to make some pretty shabby chic cards. 

Please leave me a message if there is anything you would like to know about the cards and I would love you to follow my page

Look forward to welcoming you back to my blog in the future.


Wednesday, June 17, 2020

What I Love About My Home

Hi 

I have had great fun making this canvas showcasing the little door.  The story about the door relates back to when my daughter and I were walking down one of the alley ways in Brisbane and my daughter pointed out the door designed for the little fairies who live in the city.   The saying I have put on the canvas - "What I Love Most About My House, Is Who I Share It With"  I love that no matter the size or where the door is - you are always welcomed at the door with a big Hello. 


When starting the canvas I had an idea of how I wanted the layout but couldn't decide on the background until I saw my Stamperia Crackle Paste and used this to give the background a good base.  
From this point the canvas just flowed. 

I do hope you all like the canvas and find some inspiration from it. 


Materials I used were: 

49&Market paper for the background behind the picture
49&Market Flowers - Wildflowers Cream
Starburst - Clam Bake Beige
Starburst - Sassy Sapphire
Starburst - Ramblin' Rose Pink
Magical - Lucky Shamrock Green
Tim Holtz Distress Glaze - Walnut Stain

Chipboard - my son cut for me on his Laser Cutter
Cork for behind the picture
Twine to run under the picture


The Following are the challenges I will be entering this month - please hope over to each of them and look at all the wonderful creations in each one.  
More Than Words Challenge

Lindys Gang Colour Challenge

A Vintage Journey - A Rustic Charm


Sunday, May 24, 2020

A Rose for Someone Special

Hi Everyone

This month I have decided to enter the monthly challenge from Vintage Journey with the Subject being Beautiful Blooms. 

Although the other entries are show casing beautiful cards and scrapbooking pages I thought I would show everyone this beautiful rose that I created this afternoon. 

I wanted to make something special for my very special granddaughter.  She has been going through some things recently, over and over what a normal teenager would have to put up with  but she is a strong focused young lady and will overcome the hurdle that life throws at us all.  

I was thrilled when she asked me, the old Granny, to go shopping with her to help her decorate her new room in the new house my son and his family have recently purchased.  It was such fun, just the two of us trying to find just the right duvet cover for the bed, the pillows, bedside tables and a special bed for her puppy.   The colour she wanted for her room was a dark turquoise with grey accessories, and it looked beautiful after everything was in place.  


As part of the finishing touches to the room I have made the little Rose Dome.  It is made with Stamperia paper and the Spellbinders Create a Rose Die.  The first rose I made I followed the instructions but it did not sit well in the dome, therefore I recreated it again showing it partially closed and trying to make it look a little like the beautiful red rose from our garden. 

Each petal is separate and put together individually. Prior to putting the rose together I inked a little bit at the base of each petal to provide a little shading. I then starting with the small petals and fouled each petal and glued them together, and slowly layering the petals through the four sizes created the rose.    

I do hope you like it and I know it will look beautiful in my grand-daughters room.  


Wednesday, April 15, 2020

A Moment Captured

Hi Everyone


First I would like to wish everyone best wishes and hope that you and your families remain safe over these special times with the Coronavirus Pandemic. 
Many people are either 'self isolating' or are in 'lock down'.   Myself I am fortunate to be working from home but although it has been requested that we do not leave our homes we are allowed to leave for medical appointments, collect medications, shop or exercise.  However, we are to self isolate as much as possible and can only visit one person at a time. 
It is definitely difficult times for us all, but I feel with the wonderful friends we have developing while doing our wonderful craft we will all remember that we are not alone - there is someone at the end of the email train. 
Over the past month my first job (the one that pays) has kept me very busy and tiring and has meant that I have not had the energy to even look at anything Scrapbooking for a while.  It has not bothered me because I feel the work I have been doing has helped support the organisations and their staff while they are working to support the elderly in Queensland.  
However, over the recent long weekend for Easter I took some 'Me' time and had fun playing with the Lindy's sprays and squirts.  This is the page that I have created in my new Journal.  

I hope you all like the piece which I will be entering into the 
The inspiration of the challenge is the word - Everyday and the creative challenge of Bugs and Birds. I have used a photo that I found of the beautiful butterfly and have used the word inspiration of 'Everyday' for the background pieces by using everyday objects, such as a piece of bark from a Paperbark Tree I found while playing with my grandson in the park, a piece of chicken wire I found while cleaning out our garden shed and the piece of gauze that I found in the first aid box or the button from my Grandfathers Jar of buttons he had collected during the great Depression


I will also be entering the piece into the Lindy's Challenge for April.
.


Thank you for visiting my page and please  hop over to the More than Words Challenge April Challenge. AND Lindy's Challenge for April to see all the wonderful pieces that some very talented crafters have created. 

Once again - Please stay safe everyone 


Friday, February 14, 2020

Rust from the Past

Hi Everyone   When I first saw the More Than Words Challenge for February I thought to myself 'What am I going to do?'  This was really out of my comfort zone but that only drove me more to try my best to find the suitable photo which I could then create a page using the theme 'The Past'  and the word 'Rust'.
Then I remembered the beautiful photos a distant relative of my who lives in England posts on her facebook page on a regular basis.  She is lucky enough to live in the heart of England and often posts pictures of the beautiful country along with the beautiful brickworks.  Lucy currently works as a Gatekeeper and Museum Interpreter at Action Scott Museum.  She also makes beautiful hand made animals through Lucys Shed.  One of the photos on her Facebook page was of the Bottle Kiln at Broseley Pipeworks.


The picture I used was one that Lucy had taken of the rusty changes and pegs attached to the old brick walls of the Pipeworks. 


I used 49 & Market Paper - Bold and Beautiful Collection - Edge of Reason  - and stamped some brick stamps with Tim Holtz Dustress Ink Rusty Hinge around the edges of the paper where I knew it was going to be seen.  


I then layered papers torn up scrap pieces of paper from 49 & Market and Tim Holtz which I have torn into strips and then inked along the edges with the Rusty Hinge ink. I also added on one side a piece of - actually I don't know what to call it - it is made a string which has been weaved together but is brittle and breaks easily as you can see in the photo above - but the looks just adds more character to the photo. 

Although the wall with the rusty chains are the main photo I wanted to show off the Pipeworks so used another one of Lucy's photos as part of the background. The rest of the background is completed with chipboard that I had which I painted wth a light sand texture medium and then inked with the Rusty Hinge ink and then lots of little pieces of metal work and pictures.  The part I like the most is the chain that I found in my stash and used as decoration to help enhance the photo.  

I wish to take this opportunity to thank Lucy for all her wonderful photos on facebook and please don't stop.  To all my followers watch this space there may be more photos from Lucy in the future. 


I do hope you like the page and please don't forget to leave a small comment especially if you have a questions on how I have done something - I will endeavour to assist you with any question.  


Wednesday, January 22, 2020

Fun with Miniature Violins

Hi Everyone

As this is my first Blog for 2020 I would like to wish everyone a Happy New and Safe Year and wish you all the best for the year ahead. 

I have had a busy time with family and recharging and getting ready for a busy year ahead.  

I did have a little bit of time in my craft room where I got a little creative with these wonderful little Violins. 
I am only showing you a little sneak peek of the violins as I plan on teaching this in a class shortly. to In the meantime I hope you enjoy the pictures of these two little violins.

If you are interested in attending the class to make one of these little treasurers then please contact me  to find out the details.